
Unfortunately when going on a sailing trip of a lifetime, setting sail isn’t as simple as buying a boat and departing the next day. The challenges of rough weather, scorching temperatures, and adopting an off-grid lifestyle require thorough preparation. This is why Rasmus and I (Coen), decided to work on Eva together for a week in March. With a list of tasks on our to-do list and limited technical expertise, we relied on the assistance of the wharf to accomplish a great deal within that short timeframe.
Antifouling
For the non-boat-enthusiasts that might read this blog, “antifouling” refers to the protective paint applied to a boat’s hull to deter the growth of organisms like barnacles and algae. Before starting off, I read a book about boat maintenance, and it referred to the process of antifouling as “the least pleasant job one could do on a sailboat”. Well, if that was true, it would be great news, because we had a great time with it.
Before arriving, we asked the wharf to raise Eva’s waterline by about 20cm—an advice given to us by Eva’s previous owner, Ben, who had successfully crossed the Atlantic Ocean twice. Ben got this knowledge the hard way, through constantly battling algae buildup during his voyages.
We started the process by giving Eva a thorough clean with a high-pressure sprayer and a few sponges, followed by sanding off any remaining dirt and algae growth. With Eva now prepped, we meticulously taped off the waterline to safeguard the pristine red paint. Then, we dove into applying the antifouling paint, and within a few hours, we had covered the entire lower portion of the boat beneath the newly raised waterline.
The reason we liked the job so much is because you could see the results from your work so well, making it a very rewarding job!


Taking inventory
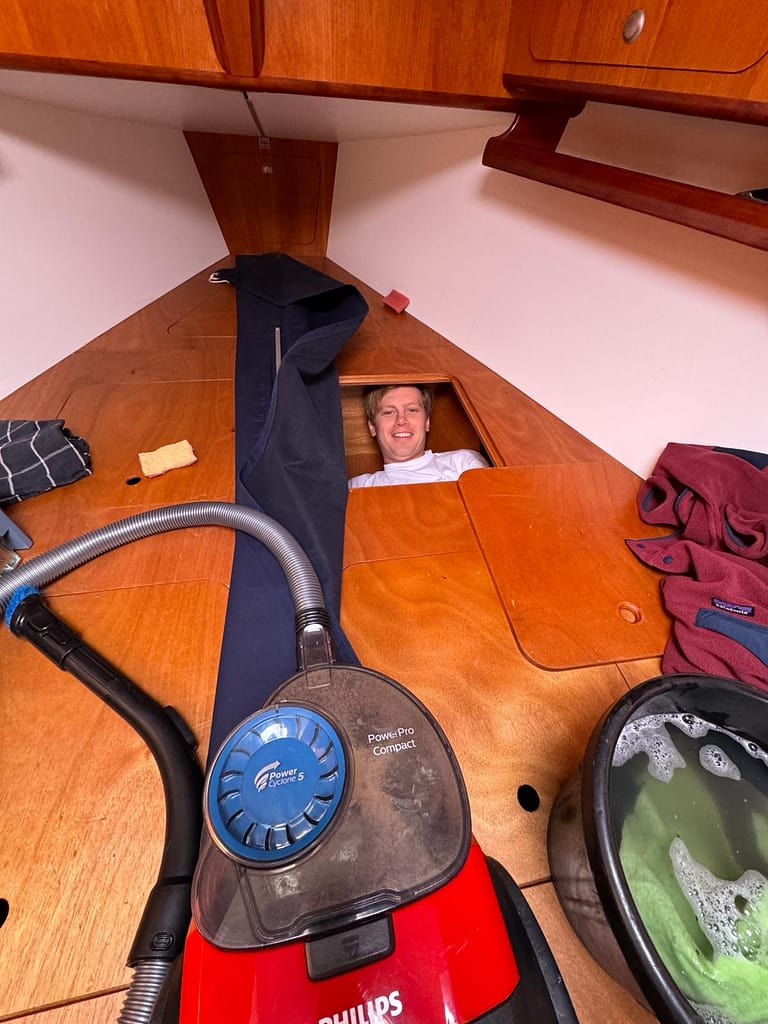
During our previous boat trips, we discovered lots of hidden storage spaces filled with spare parts. So, we decided to tidy up and make an excel sheet of all the compartments and spare parts we had. Surprisingly, we found plenty of engine parts like belts and impellers. It seemed Ben had prepared well for his journey, and we were happy to have all these extras.
Mast maintenance
Our next task was a far less visually rewarding but equally important: giving the mast’s moving parts a thorough cleaning and applying fresh oil and grease. While the immediate changes might not be visible, we’ll certainly feel the difference in the smoothness of the halyard when we hoist the mainsail on our next voyage.
A day of mixed results
After successfully completing our initial tasks, we felt encouraged to take on a new challenge: servicing the self-steering windvane. It sounded straightforward enough: remove the bolts, clean off any rust, polish them up, apply new Teflon oil, and put everything back together. However, the reality was far more complex. The windvane turned out to be a highly intricate piece of equipment, with numerous parts that needed to be reassembled precisely.
Despite our best efforts, we made a few mistakes, like damaging a very specific washer and screwing parts back in the wrong order. After a few frustrating hours, we decided to call it quits, realizing that although the windvane was in better shape than before, we risked making it worse if we continued.
Moving on, we planned to mark the anchor chain. Armed with spray paint, we laid out the chain in five-meter stretches, intending to mark each section. However, to our surprise, we discovered that the chain was already marked, giving us insight into its depth and reassuring us of its good condition.
As we returned the chain to the locker, we encountered another challenge: the anchor winch, covered in rust. Despite its appearance, it had been working fine. Curiosity aroused, we attempted to remove it to clean off the rust and assess its usability. Yet, it proved stubbornly resistant to our efforts. Despite hours of work by Rasmus, the winch refused to budge, its parts seemingly frozen in place after years of inactivity.
A final, succesfull day
On our final day, we had two major tasks to tackle: removing the windlass and sanding plus varnishing the wooden hatch frames.
We kicked things off with the hatch frames. To minimize the mess, we taped a garbage bag underneath the hatch from the inside, containing all the dust as we sanded away from the top. It was crucial to keep things tidy, especially after we had just cleaned the boat a few days prior. Sanding the hardwood frames was quite a challenge, mostly done by hand while lying down on the deck.
Once the sanding was done, we were a bit uncertain about how it would turn out, but we were committed. We used knives and other tools to scrape off any remaining sealant, preparing the frames for varnishing.
The wharf hooked us up with the perfect varnish types. First up was a ‘filler’ varnish to smooth out any imperfections in the wood. We applied it, sanded it down, and repeated this three times to get it just right. Then came the final layer, a tougher varnish to shield all the layers beneath.
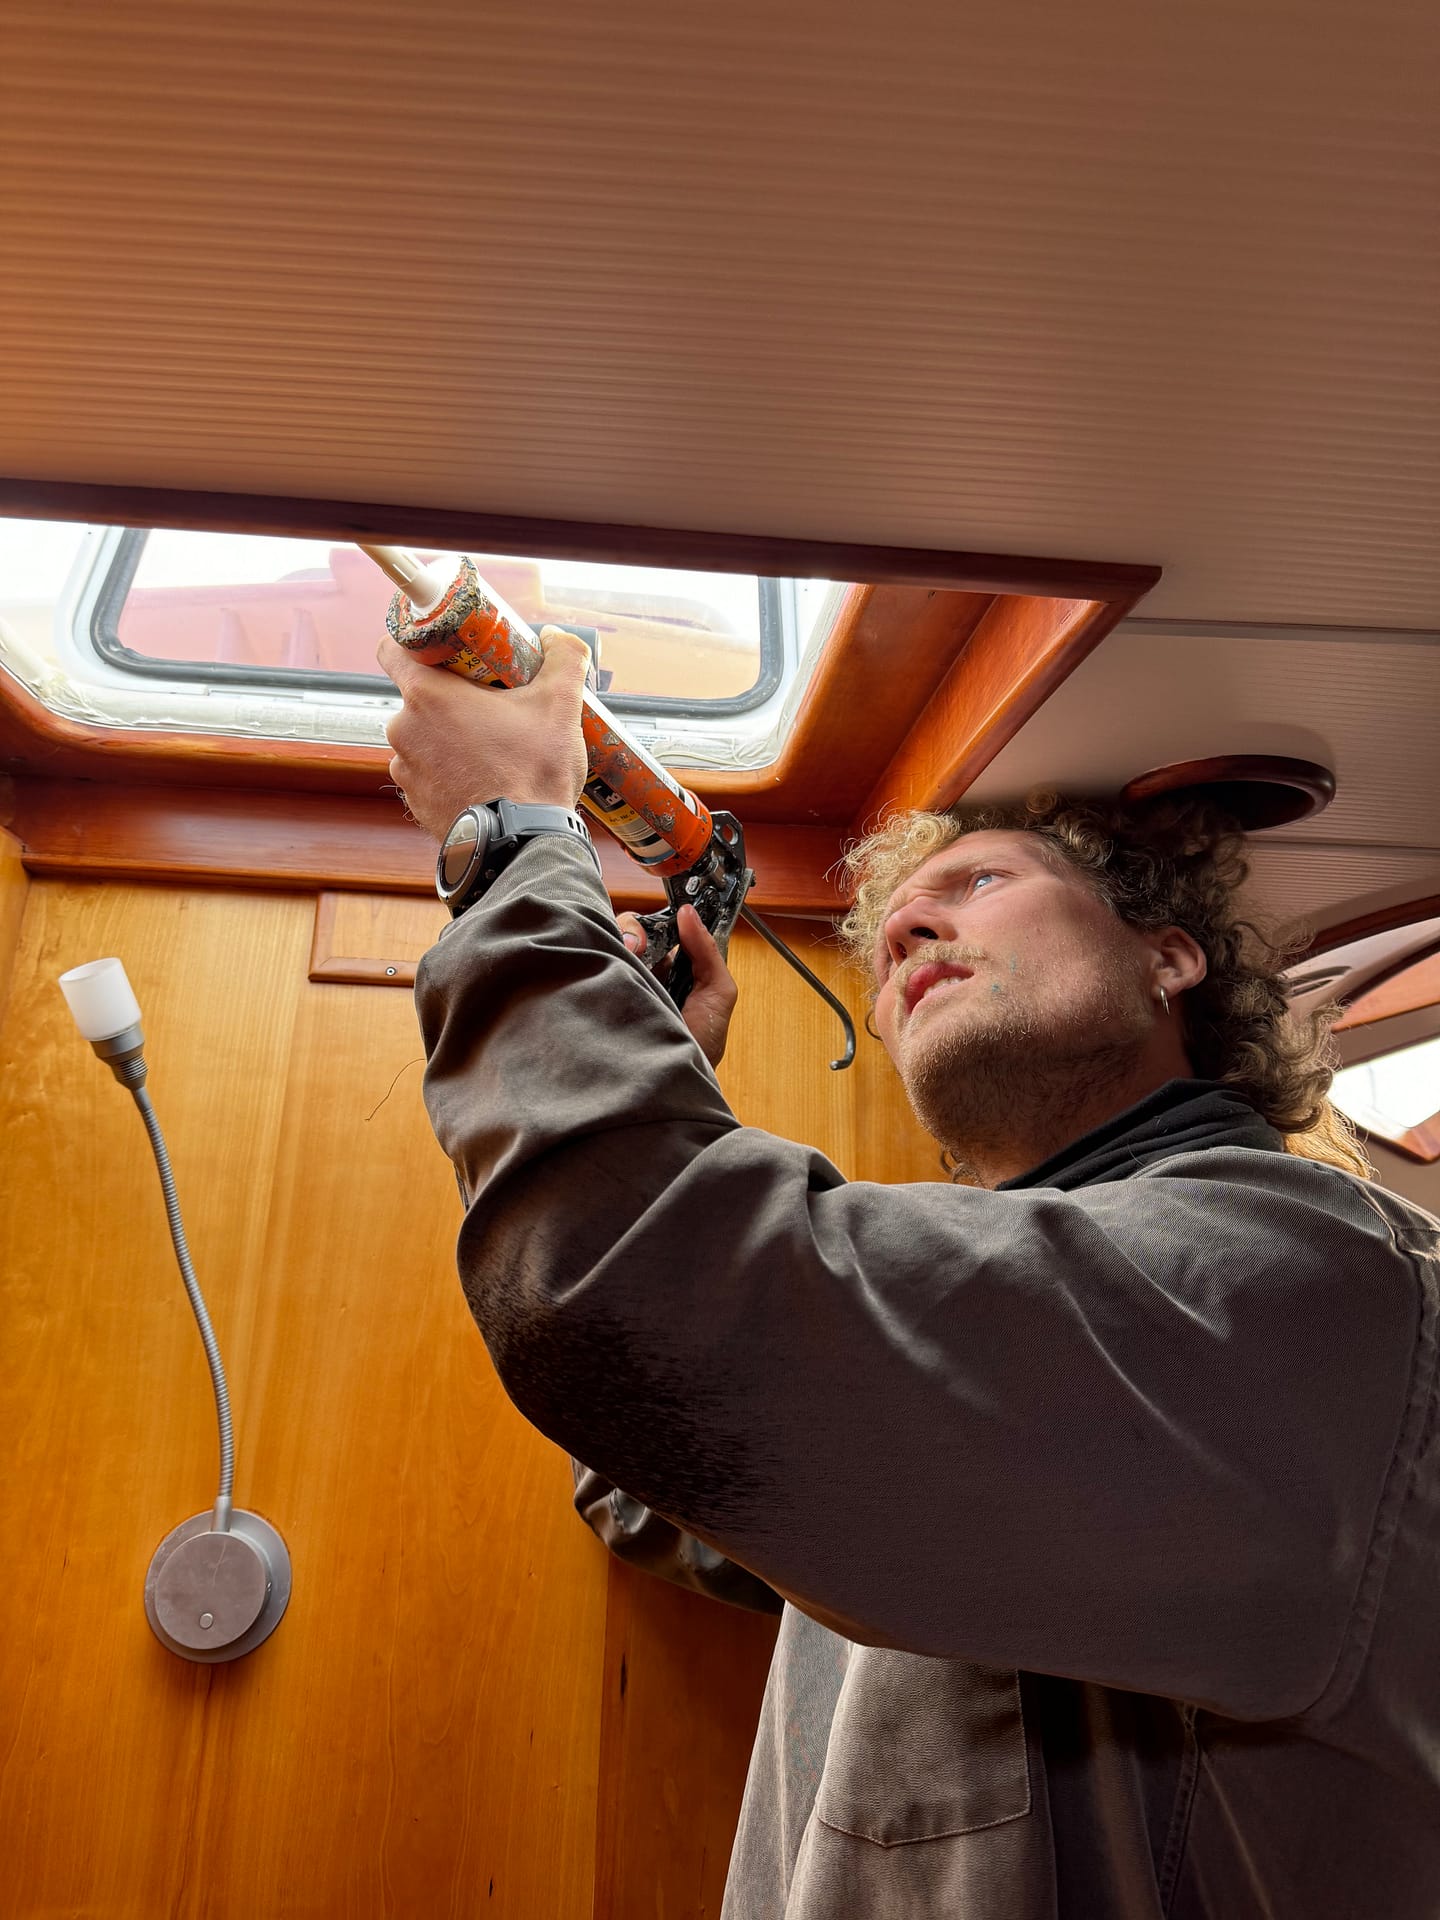
Now all that remained was to reapply the sealant (as shown in the picture on the left), and the task would be complete. We were pleasantly surprised by the final outcome; not only had it effectively removed the rotten wood, but it also presented a remarkably polished and professional appearance. It was probably the filler varnish that helped us out with the looks, through evening everything out nicely.


Now, the final task of our week’s work on the boat: removing the anchor winch. While I busied myself cleaning the boat and organizing things inside, Rasmus hammered away at the axle that was stuck in place. By around five o’clock, we had to call it a day and acknowledge our defeat, but not before borrowing a huge hammer from the wharf. With a few more swings of the large hammer, suddenly the whole thing started to move.
It came out in one piece, but we had to head home and there was no time left to work on it. So we took it home with us, and the next day we set about trying to remove the rust and inspect the anchor winch from the inside to see if it was still in good condition.
However, after a few hours, we discovered that in one spot, you could see straight into the engine through a hole created by all the rust! This was very disappointing, but at least we found out before our trip. The gearbox still appeared to be in decent shape, so perhaps we can still salvage part of the old anchor winch.
So, all in all..
It was a great experience working on the boat together. Initially, we were puzzled by the 30+ cans of spray left by the previous owner. However, by the end of the week, we knew exactly which spray to use for rust removal, tackling parts that were really stuck, or securing items in place. It was satisfying to find out we both really enjoyed the process, especially when you consider all the hours that we’ll spend on repairs and maintenance when sailing around the world together.
I said farewell to Rasmus at the airport alongside Femke. It was bittersweet watching him depart once more, but the anticipation of our next reunion filled us with excitement, knowing it would mark the beginning of our true adventure.
Awesome to follow your progress! Maybe you can address the work you’ve been doing in the Pod?
Hey Emma! Thanks for you comment, yes we are planning to mention some of the preparation work in our first podcast, so stay tuned 😉
That all sounds great guys! Seems like you’ve learned a lot in a week’s time! Keep up the good work!
Thanks Joost, we will! 😀
Great work lads, do you have davids for the dinghy? If not I’d seriously recommend it.
Cheers, Lenny
Thanks for the tip Lenny! We looked into it, but it will probably not fit on our boat 🙁